Attaching the Aluminium Skin
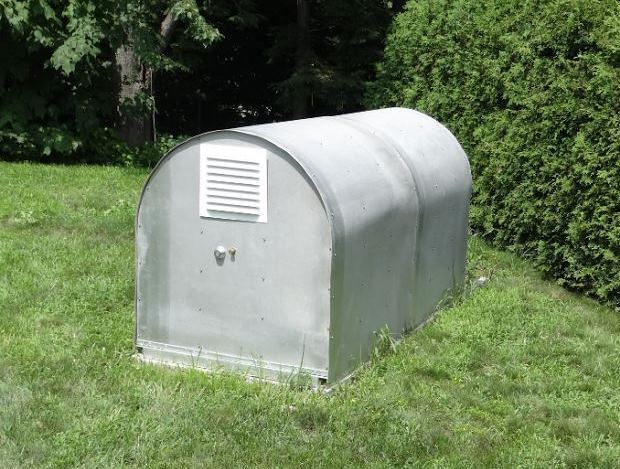
After having completed the skeleton frame of the structure and the locking mechanism, it was now time to attach the skin. As mentioned above I used the pool wall of an old 48″ above ground pool my parents had when I was young. Here is a picture taken about 25 years ago of my eldest daughter, a year or two before the pool was dismantled:
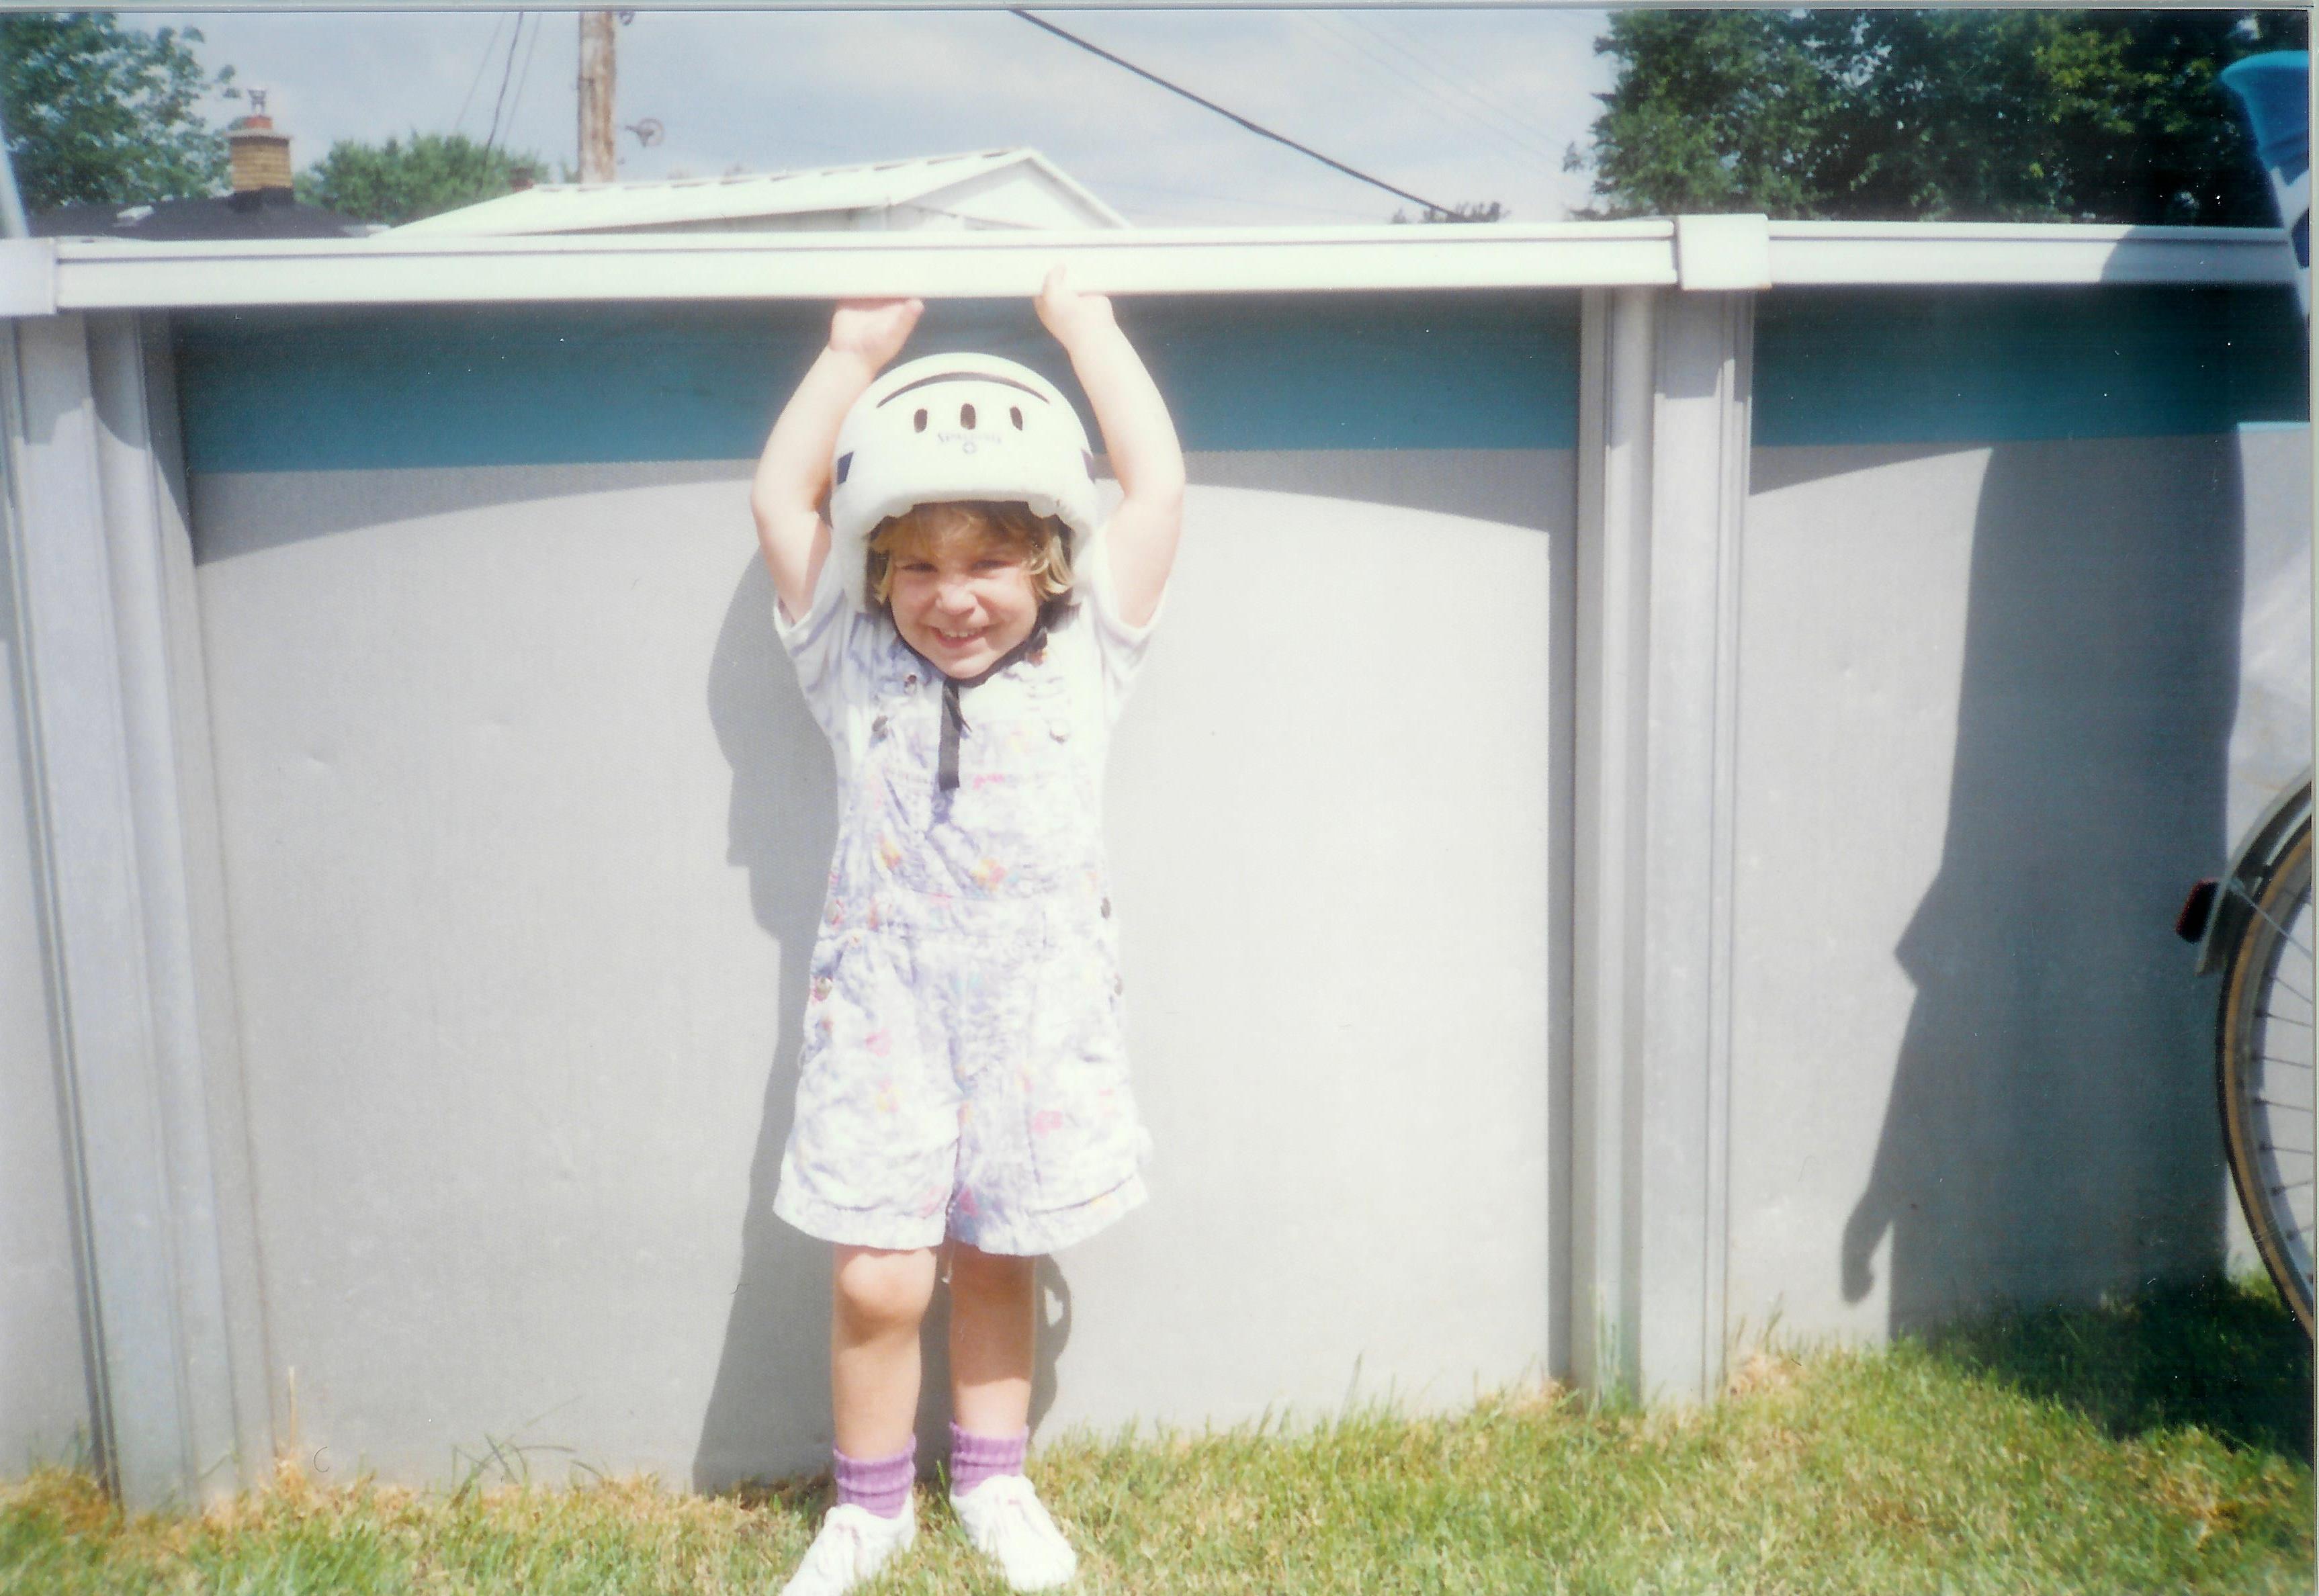
The pool wall is embossed aluminium. It is about 1/32″ thick. Even after 50 years It was in fairly good shape except for some corroded sections (the aluminium that was closes to the ground) which had some pits on the surface.
I placed the heavy roll of aluminium on the floor, under the structure mounted on sawhorses, rolled it on top of half of the structure and cut what I needed. I used metal screws with rubber gaskets to fix the skin to the covers rib structure. These screws are normaly used to attach metal roofs. I did not put screws directly on top to prevent any water accumulating there (melted snow) to sip into the structure. The screws start about 18″ past the center. Since a pictures is worth a thousand words, here is one that pretty much summarizes the operation:
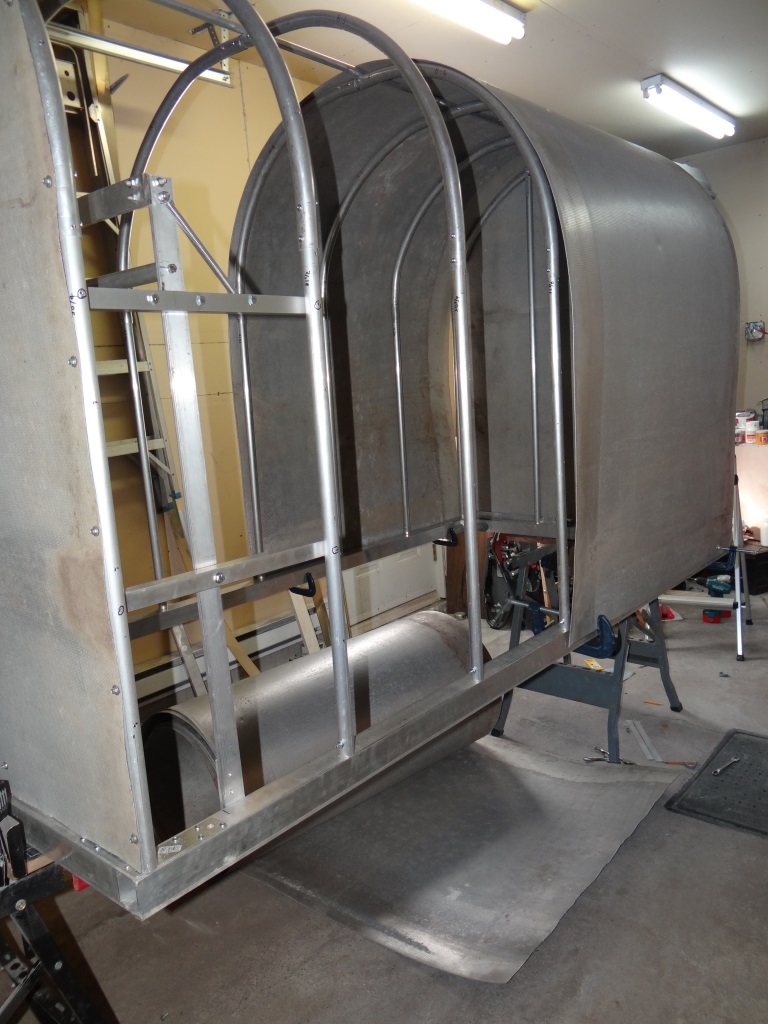
You can see the skin is already attached on each side panel and one of the two central sections has been clamped and is ready to be attached with the metal screws.
There was an overlap of about 1 inch between the two large panels. I glued a 1.5″ wide foam gasket there to prevent water from sipping through that joint. Later I would also add silicone to ensure more waterproofness.
Triming the Shelter’s Height
When I was first designing the shelter I had to decide on the maximum height with regards to the telescope in a horizontal storage position. Because of the dual roller drive tracking platform, the tube of my 20 inch ball scope cannot be inclined perfectly horizontal when looking north, due to interference between the drive roller and the hemisphere’s reinforcement ring. It is easier to store the telescope with a 20 deg inclination, although it can go down to 10 deg if required.
In the construction pictures above the shelter is almost 60 inches high when horizontal, which I felt was unnecessarily high. The reason I had initialy made it that high can be seen in this “X-Ray” picture of the stored scope in the shelter:
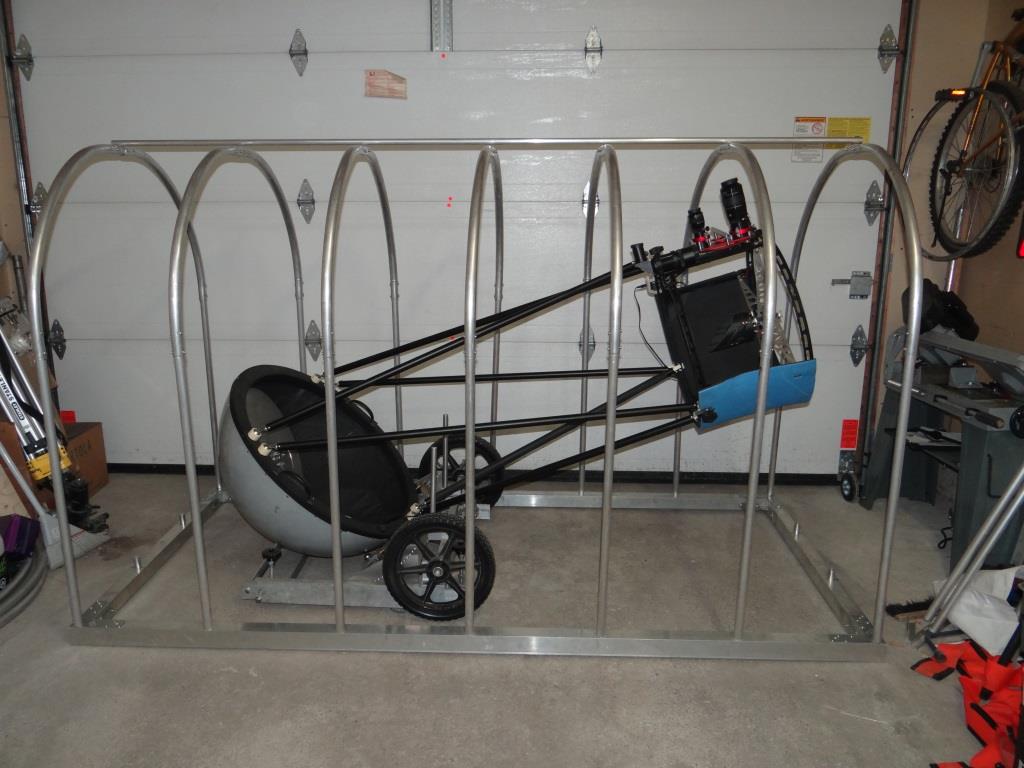
It is only a few months after finishing attaching the aluminium skin on the cover that I came to the conclusion that I would probably never leave eyepieces in the two eyepiece holders when the instrument was in storage. You will notice that the 2″ eyepiece sticks out the most (20mm ES 100 deg AFOV is 5″ high when sitting inside the drawtube) and there is still 2 or 3 ” of room between the tip of the eyepiece and the top of the cover.
So after giving it some thought I decided to cut 8″ on the eight of the cover, reducing the total outside height to a little over 4 feet. I don’t have pictures of this operation but I can tell you it was a little complicated to undertake and took a good 12 hours of work. However, I’m glad I did it. It looks a lot nicer now and without the eyepieces in, it fits the 20 inch like a glove.
Here is what the shelter looked like before taking an 8 inch slice on the bottom:
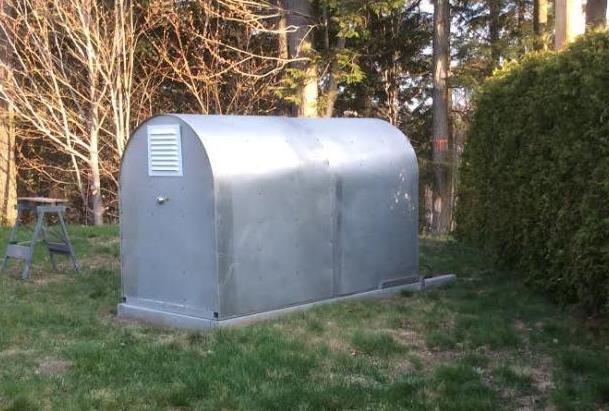
And what it looked like this summer after cutting it to its final height: